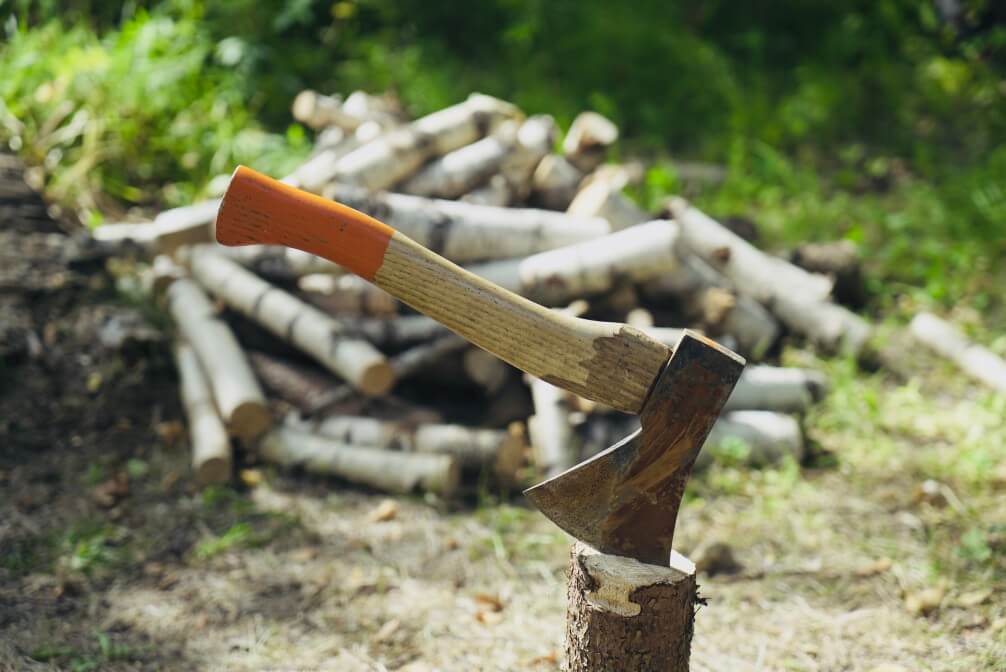
If your axe is older and had been outside in the elements for some time, it’s going to disappoint you one day. Axe handles break sometimes, which means that they need to be replaced. And, lucky for you, we’re here to help!
There are five steps to replacing an axe handle: removing the previous handle, fitting the replacement axe handle, and wedging the handle in the axe head, securing it in place. It may look like a daunting task, but it’s really quite simple and won’t take all day.
Replacing your axe handle, whether it’s broken or just old, is the best way to ensure that there won’t be accidents or mishaps while you’re out using your axe. Keep reading to learn how to replace an axe handle.

Finding The Right Replacement Axe Handle
The right axe handle for you will fit your purpose and will fit you ergonomically and won't be too heavy for you to lift. Here’s what to look for when finding a replacement axe handle:
How To Find The Right Size Replacement Axe Handle
When you’re replacing an axe handle, you need to get the right size for the head and the appropriate distance from whatever you’re cutting. While the type of axe head usually depicts your options for axe handle replacements. For instance, a hatchet is only as big as 16 inches, and the head will not work with a bigger handle.
Try to stick to the recommended model number. If you’re not sure, check the manufacturer’s website to find out. If you’re replacing an older axe handle of an unknown brand, then you will have to determine what type of axe it is, and then choose a replacement accordingly.
Curved Handles Or Straight Handles?
Splitting mauls are almost always made with a straight handle, as do double-bit axes. This is the standard among many felling axes as well. However, the problem with a straight handle is that there is much less shock absorption.
Curved handles are made for ergonomics and proper hand placement. These are more common in working axes that are heavier and used to a constant force. Curved blades are also more shock-absorbent, helping you hang onto the axe handle while absorbing the reverb from the axe hitting a log or tree.
Wood, Fiberglass, Or Steel?
Wooden handles are more budget-friendly and can last a long time, especially if maintained and kept indoors. However, older wooden axe handles that have been left outdoors are more liable to break than fiberglass axe handles.
Fiberglass is much lighter than wood, so these handles are much easier to use for beginners. These handles always come with grips because they are much more slippery than wooden axe handles. They are more expensive but prove worth it through durability and resistance to problems that a wood handle may have like waterlogging, moss growth, and other things.
Steel is the heaviest of them all. However, it is the sturdiest. Steel axe handles can cut through ice, so if you’re looking for absolute strength, then this is it. The downside to steel handles are that there is no shock absorption, so it will likely hurt your shoulders and arms after a few hard strokes.

3 Steps To Replacing An Axe Handle
There are three steps to replacing an axe handle. But first, you’ll need a few tools to help you do the job. Here’s what you’ll need to replace an axe handle:
Wood Is Good WD205 Mallet

Features:
- This Wood Is Good 18-Ounce Mallet is guaranteed unbreakable
- The head is made of a tough urethane material designed to be quiet and yet able to transmit the maximum blow to the tool
- The handle is beautifully turned out of selected New England hardwood and is polish sanded
Bangerz Sunz Rubber Mallet

Features:
- Hammer delivers a softened strike to protect parts from scratches and damage
- Designed with durable plastic that won't scratch or damage finely finished surfaces
- Mallet minimizes damage to struck surfaces limiting peak striking force, with minimal elastic rebound from the struck surface
Generic Diaotec Axe Wedge Kit

Features:
- 1 wooden and 3 steel wedges for axe repair
- Conical design expands wood 360 degrees
- Designed and manufactured by our small family shop in Plainville, Ct
Step One: Removing The Axe Head From An Old Or Broken Handle
Before replacing an axe handle, you need to get the old one off first, if it hasn’t broken off already. Here’s what you’ll need to get started:
Using your saw, cut off the axe handle, right to the edge of the axe head. Then, with a hammer and a punch or railroad spike, tap the top of the axe to get rid of any part of the handle that is still inside the axe head. You can also drill a bunch of holes in the remaining piece to make it easier to pry out.
Once you’ve removed the wood from the axe head, sand it to clean it of any remaining wood pieces or dried glue. Then, you should clean and sharpen the blade, so that everything’s fresh and new for the replacement axe handle. Now, you’re ready for the replacement axe handle.
NEIKO 02638A 5-Inch Automatic Center Hole Punch

Features:
- Working with materials like wood, plastic, metal, glass, and leather.
- Hand-held puncher lets you mark drill holes anywhere while on the job.
- With a nonslip surface and a precision-centered tip, this center metal punch has increased force control for accurate holes every time
KunYi Sandpaper

Features:
- The size of each piece of sandpaper is cut into 9 x 3.6 inches, and it can also be easily cut into any smaller size you need
- Harp and high-quality black carbon silicon abrasive, high polishing efficiency, high surface finish and good consistency
- Product is environmentally friendly and non-toxic, with advanced water-repellent treatment technology
Step Two: Fitting The Replacement Axe Handle
Now that the axe head is clear, it’s time to fit your replacement axe handle. To make things easier, look for a handle with a kerf. A kerf is a little space that is cut into the top of an axe handle. It’s meant to shrink and when fitted inside the axe head. Once a wedge is fitted, it will hold the handle in place. You should mark where it ends, so you know when it’s in the right spot.
Try to do as much as you can without tools when you’re fitting the eye into the axe head. After it’s set in the right position, give the bottom of the handle a few taps with your mallet until the kerf is entirely inside of the axe head.
If you go overboard, it’s okay. You can tap the top to bring the handle back a bit. But, if you have an extra bit of the handle coming out the top, but the kerf still isn’t fully covered, you may have to cut it off.
Step Three: Wedging The Replacement Axe Handle
After you’ve got the top of the axe handle fitted into the axe head. It’s time to place a wedge inside the kerf to hold the handle in place. Some handles come with a wedge kit, but you can also buy them separately or make your own if you’re handy with a saw.
Tap the wedge into position very carefully. If you try to drive it in forcefully, then the handle may split. So, gently tap it in. And then, as a final security measure, fill in the rest with wood glue. Not only does it keep everything in place, but it also helps keep out any debris or weather that could compromise the head’s hold on the replacement axe handle.
Conclusion
Properly maintained axes can last for decades, but what happens when they break? You can waste a perfectly good axe blade, and just get a new axe! Replacing the handle is easy and doesn’t take long to do, so you can get back to the bush ASAP!
Take care of your axe, and it will take care of you for many years! Remember when choosing the handle to look at all your options and try to stick with the same brand and model to ensure a proper fit. And when replacing an axe handle, take note to do it gently, rather than quickly.